


One of the most fun things to do with local, seasonal ingredients is to take classic meals, like pizza, and put a local spin on it!
This pizza recipe uses all local ingredients that you can find at The Market at 100km Foods. An Italian classic, with a local, seasonal twist.
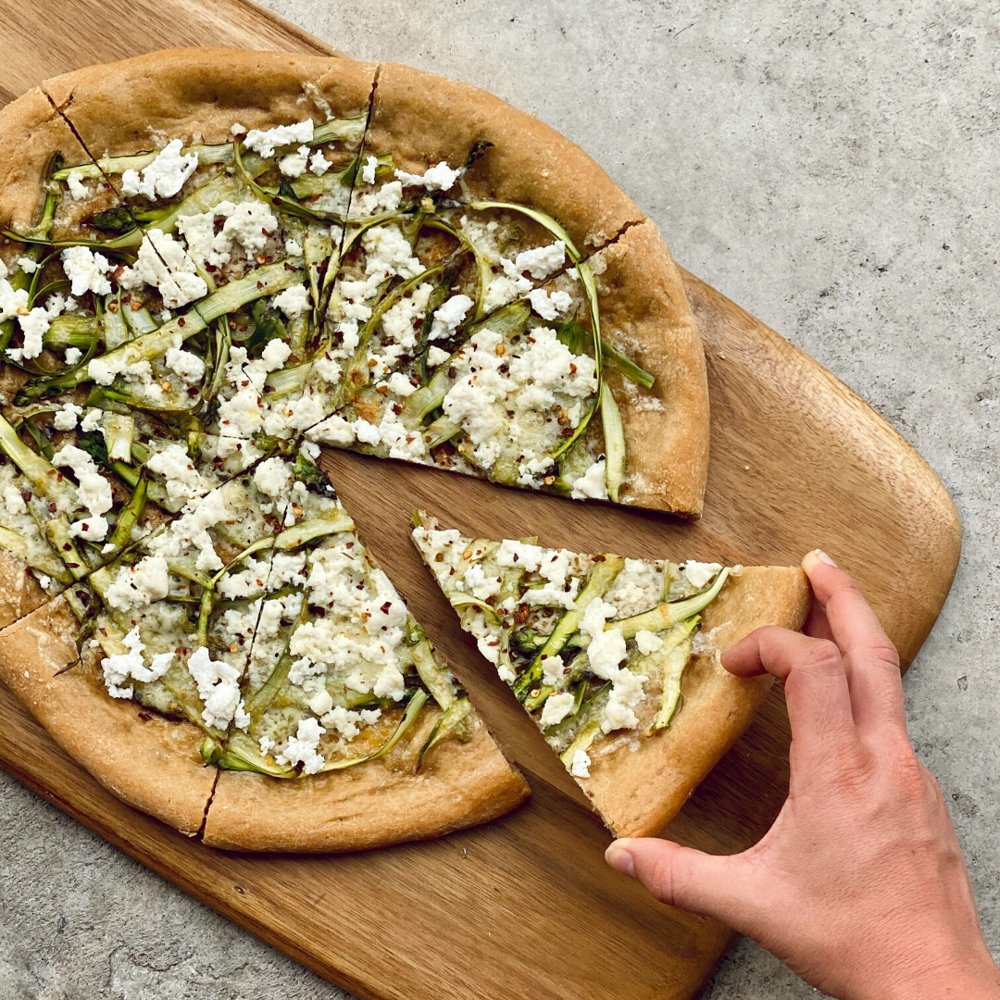
The asparagus is definitely the star of the show in this pizza and it's flavour is front and centre! A beautiful recipe in celebration of asparagus season.
Now when it comes to pizza dough, I am partial to a Neapolitan style dough. Neapolitan style pizza dough is a traditional dough that makes a pizza with a flat, thin bottom and a wide, airy edge. The traditional recipe for this type of crust includes extra-finely ground, high-protein flour (00 flour), water, salt and yeast.
I experimented with using our K2 Milling "Viking" AP flour and the result was nothing short of amazing! Pillowing edge, thin crust perfection.
You can recreate this recipe using any dough recipe you'd like (or pre-made pizza dough) if you prefer!
For the Neapolitan Style Dough
Ingredients:
- 500g K2 Milling All-Purpose "Viking" Flour (if you want to stick with local!) or 00 flour if you prefer. This is about 3 1/3 cups but if you have a scale, I definitely recommend weighing your flour!
- 8g instant or active dry yeast (about 2 tsp). You can use our Instaferm Dry Active Yeast!
- 7 grams kosher salt (about 1 tsp)
- 338g warm water (about 1 1/4 cups + 3 tablespoons)
- 13g olive oil (1 tbsp). Check out our Canadian Olive Oil by Salt Spring Island!
Method
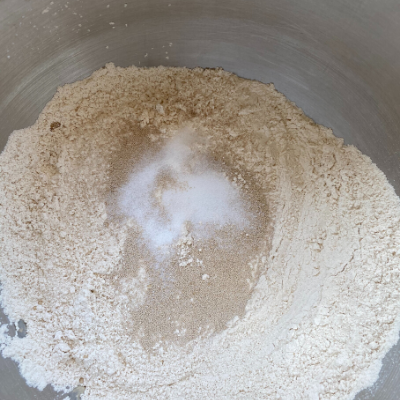
Sift together the flour, salt, and yeast in a large bowl or in the bowl of your stand mixer and stir to combine.
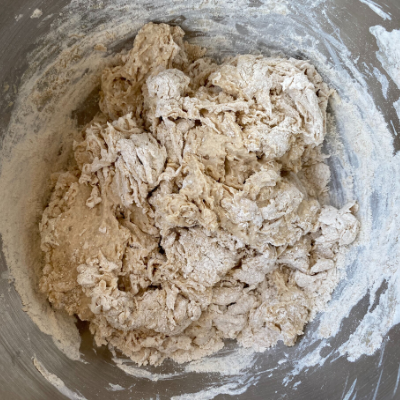
Add the water and olive oil to your flour mixture and stir until a raggy dough forms and let it sit for 3 minutes.
Turn the dough out onto a floured surface. Using the palm of your hand, knead the dough by pushing with the base of your palm, and then reforming the dough into a ball. Continue kneading for 8 minutes and then let rest for 8 minutes.
Knead for another 8 minutes until the dough feels pillowy, smooth, and not tacky or sticky. If the dough is very sticky, add a small amount of flour while kneading. If the dough feels too dry and rips easily, add 1 tbsp of water to the dough and continue to knead.
If you prefer to use a mixer, attach the dough hook to a stand mixer and start the mixer on medium-low speed, then allow the mixer to knead for 8 minutes. Let rest for 8 minutes and knead for another 8.
I find making pizza a very tactile experience and it's easier to assess the needs of the dough when kneading by hand. Plus, as a bonus, you get a little arm workout ahead of your pizza feast!
After the kneading is finished, divide the dough into 3 equal pieces. I use a scale to weigh by dough into 3 equal portions.
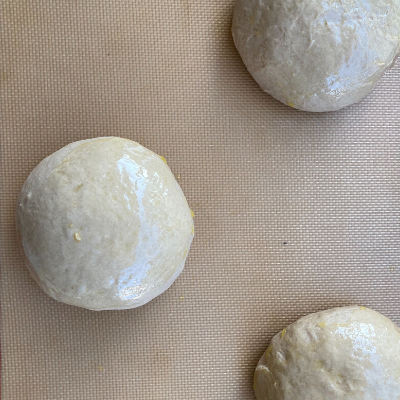
Using floured hands, gently shape each half into a ball by folding the dough under itself. Set each pizza ball on a floured surface and dab the dough with a bit of olive oil to keep it moist.
Cover the pizza balls with a damp towel and allow them to rise until doubled in size (this takes about 45 minutes to 1 hour depending on the temperature in your home).
The dough can be used immediately. However for the best flavor and texture, transfer the dough to separate greased, sealed containers, large enough for the dough to double in size again and store in the refrigerator for up to 3 days.
This allows the dough to ferment and the gluten to break down to produce the airy edges characteristic of a Neapolitan style pizza. This dough was only in the fridge just under 24 hours so I wish I had left it longer to get a fluffier crust BUT, still delicious and full of flavour.
_1000.jpeg)
If you do refrigerate the dough, take the dough out of the container the day that you want to bake the pizzas 30-45 minutes prior to baking. To remove the dough, lightly flour your surface and flip over the container. Leave the dough ot naturally fall onto the flour surface. Cover the dough with a damp towel while it comes to room temperature.
Preheat your oven to as high as it can go (most ovens max out at around 550F). I highly recommend cooking pizza on a pizza stone! If you have a pizza stone, place the stone in your oven to allow to preheat with the oven! If you don't have a pizza stone, using a pizza pan will work as well, it might just take longer to cook and your crust may not get as crisp.
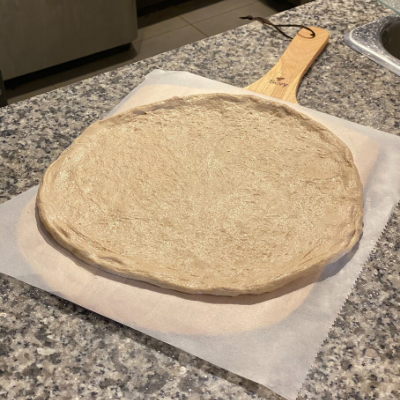
Now it's time to stretch the dough. Using your finger tips, gently press the dough ball into it into a circle by pressing and flipping several times.
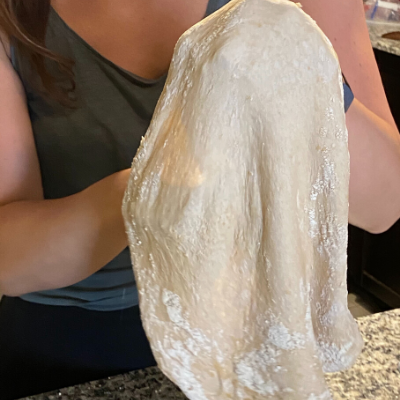
Once your circle is about 8 inches around, pick up the dough and gently drape it over the knuckles on both of your hands. Slowly rotate it around, allowing gravity to stretch it into a circle about 11 inches in diameter. Do not overwork or fold the dough as this is the secret to an airy crust!
If your dough is resisting the stretching, put it down on your floured surface and let it rest for 5 minutes and then try again. You will find the dough is easier to work with.
Once stretched, place your dough on a piece of parchment paper on top of a pizza paddle or a cutting board (if using a pizza stone). If you are using a pizza pan, simply grease your pan and lightly dust with flour. Then place your dough on the pan.
For the Ontario Asparagus & Ricotta Pizza
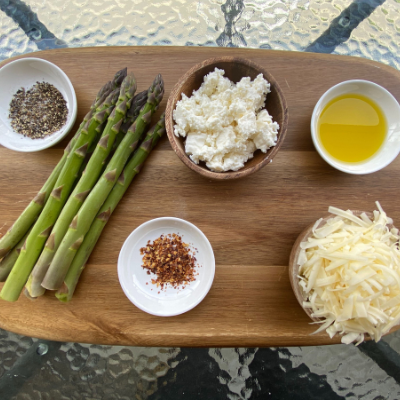
Ingredients
- 1lb Ontario Asparagus, shaved
- 3/4 cup grated Bright's Mozzarella Cheese
- 1/3 cup Bella Casara Ricotta Cheese (In this week's Dairy Box!)
- 1 tbsp Olive Oil (We have Canadian Olive Oil by Salt Spring Island!)
- 1/8 tsp salt
- 1/8 tsp ground black pepper
- pinch of crushed chili flakes
Method
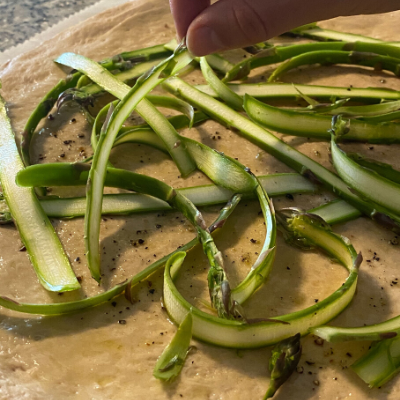
Take your tablespoon of olive oil and brush or drizzle it over your prepared pizza dough. Sprinkle with salt and pepper.
Next, trim the thick, woody ends off your asparagus spears.
Using a vegetable shaver, carefully shave thin slices of your asparagus spears. Spread the asparagus pieces evenly and top with the shredded mozzarella cheese.
You can either add the ricotta cheese before you place your pizza in the oven or after it's cooked for 3-4 minutes. I prefer to add the ricotta after the pizza has partially cooked so that the liquid in the ricotta does not prevent the crust from crisping up.
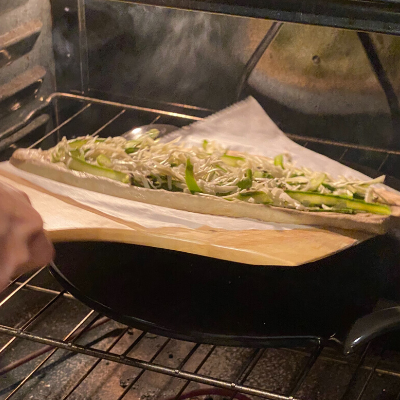
Using your paddle, place the pizza in the oven by sliding the parchment paper and pizza on to the pizza stone. Allow the pizza to cook for 3-4 minutes, and then open the oven and carefully pull the parchment paper out from under the pizza. The crust should be nice and crisp at this point and the parchment paper will easily slide out.
If you did not add the ricotta cheese already, place dollops of the ricotta cheese evenly around the pizza and continue to cook for an additional 3-5 minutes or until the crust is nice and golden and cooked underneath. You can use a knife to stick under the pizza crust and prop it up to check if the crust is done.
Carefully remove the pizza from the oven. If you are using a pizza stone, remove the pizza using a pizza paddle or cutting board and knife. Place the paddle or cutting board in front of the pizza and use the knife to guide it onto the paddle or cutting board. If you are using a pizza pan, simply remove from the oven using oven mitts.
Sprinkle with some additional olive oil and crushed chili flakes and enjoy immediately!
You can also add some fresh arugula and grated Parmesan to this pizza if you wish!
Did you try this recipe? We want to see your finished product! Tag us on Instagram @100kmfoods and @themarketat100kmfoods!


